Redscale film is all about experimenting, and that's exactly what I did. Join me for a "round the neighbourhood" photo walk in Frankfurt with some special custom redscale film from Nik & Trick!
I was on the lookout for a lab that could develop next week's film (Rollei 400s - as not all labs develop this black and white film), when I came across Nik & Trick, a photo shop and lab based out of Kent, UK. Not only do they develop pretty much any film out there, they also have an extensive range of film, including some pretty cool specialist film. I have actually bought from them before and they are friendly and super knowledgeable, with the fantastic Bergger Pancro (one of my favourite weeks of this project) on 120mm film coming from them.
And to cut a long story short, I also ended up buying a load of specialist film from them, this being one of them: Nik & Trick redscale film.
What is 'redscale' film?
Simply put, redscale is a technique whereby the film is exposed on the wrong side, meaning the light hits the non-sensitive side of the film. Better explained by Petapixel, extract below:
The name “redscale” comes because there is a strong color shift to red due to the red-sensitive layer of the film being exposed first, rather than last (the red layer is normally the bottom layer in C-41 (color print) film). All layers are sensitive to blue light, so normally the blue layer is on top, followed by a filter. In this technique, blue light exposes the layers containing red and green dyes, but the layer containing blue dye is left unexposed due to the filter.
Nik & Trick's version of this film has 22 exposures, which I was quite happy with as shooting 36 shots per week is not always that easy. According to their website:
Bursting red photographs from this unusual film which is spooled on site here from high quality japanese stocks.We advise a rating of 50asa but anything up to around 100asa produces results, in fact varying exposure causes a change in colouration so it’s great fun to experiment with.
I have tried redscale before (Lomography redscale XR50-200), reviewed in Week 8 of this project, and I think I concluded that you can have a bit of fun with this film so long as you are in the 'redscale' frame of mind.
The theme of the week
I actually had no specific theme in mind this week, I figured 22 shots would be enough to shoot in an afternoon, so I simply just went for a walk. It always surprises me what you see when you simply "go for a walk". I was all the more intrigued for how the shots would come out given the unpredictability of redscale film. As usual, all shots clickable for full screen viewing.
My Dad's Speed Graphic camera, including bulb flash. What a wonderful little camera, that still works!
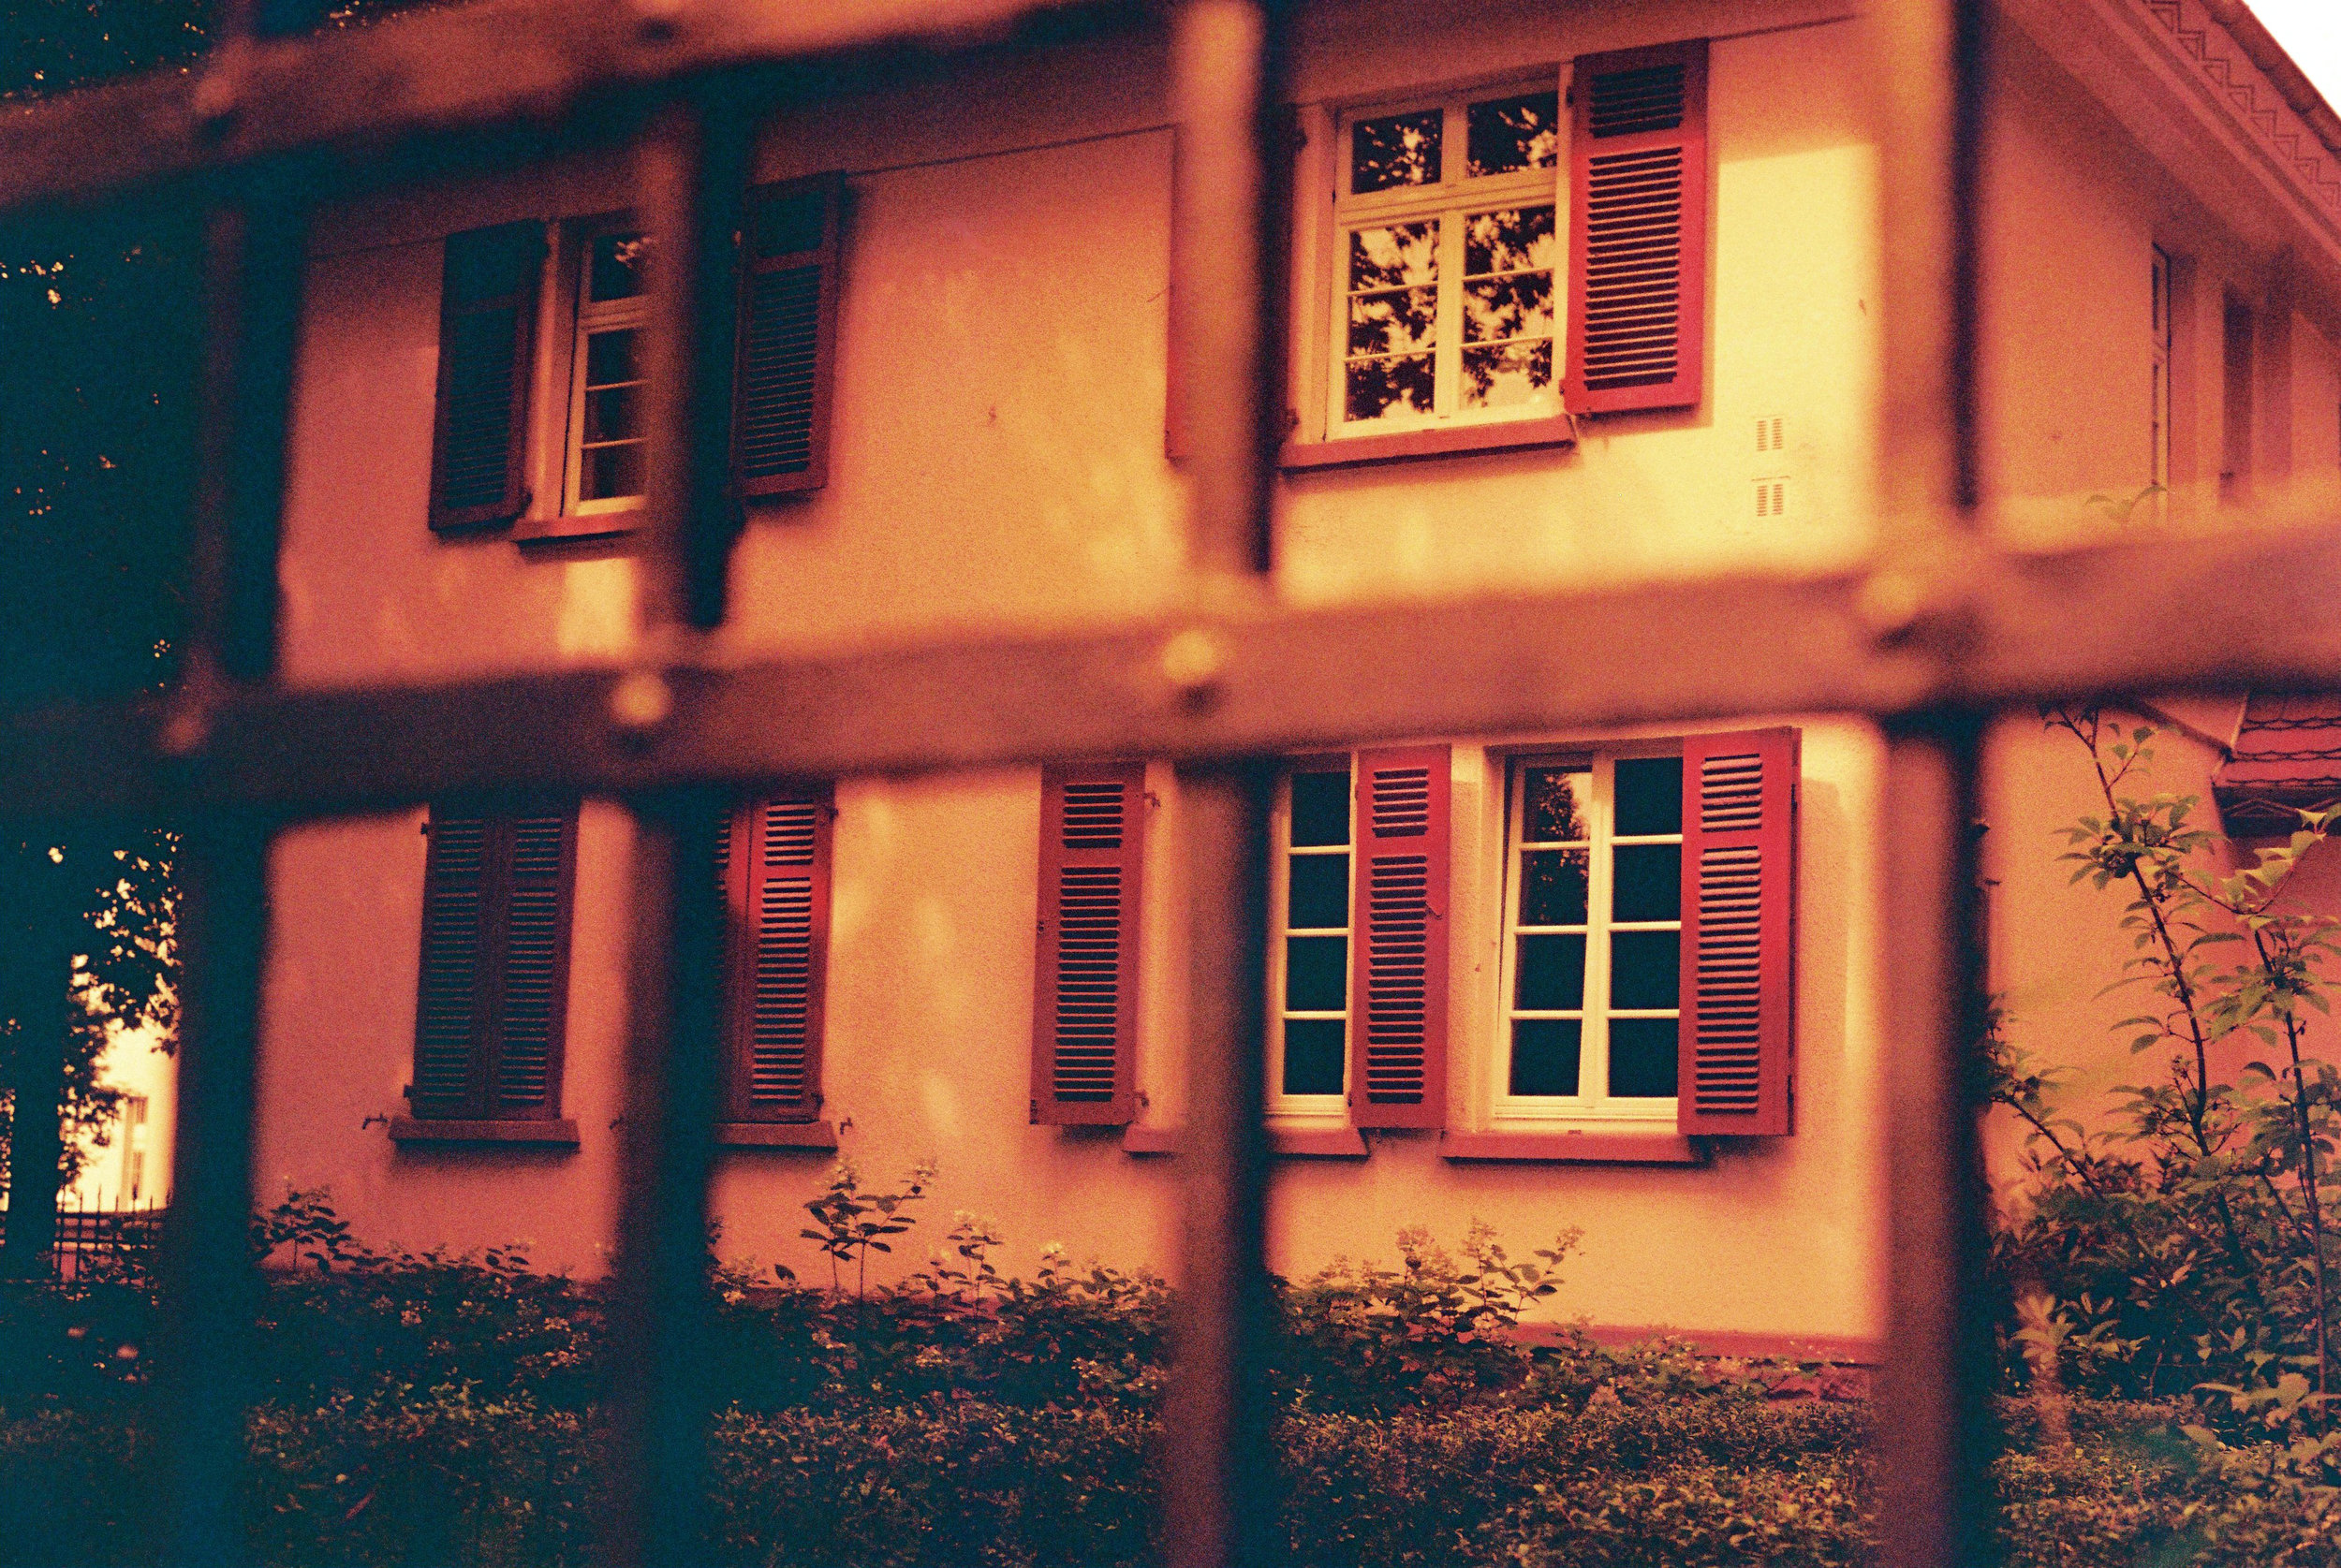
It is amazing to me how this shot can be from the same roll as the others, look how clean and crisp the shot is, it looks nearly digital. I suppose redscale changes depending on many things including your aperture and shutter speed settings. The shot below is one of the many grand houses in the Westend neighbourhood of Frankfurt.
I actually took this shot as I had taken the same shot from Week 8 with the Lomography Redscale and was curious to see how they compared.
Week 8 with Lomography Redscale, more orange than red!
Frankfurt has quite a few "free reading stations" (as I call them). You can browse and take books as you please, or leave some of your own. Very cool and you see people using it all the time. Not sure what those blobs on the film are, but as we are experimenting with redscale it adds to the fun!
Looks like this could be something out of a Doomsday film - very cool effect.
A typical central Frankfurt shot - houses tucked in and surrounded by office skyscrapers.
Probably my favourite shot of the roll - the sky looks like it's on fire!
Just another alleyway - but I liked how the sun and shadows were appearing in this scene.
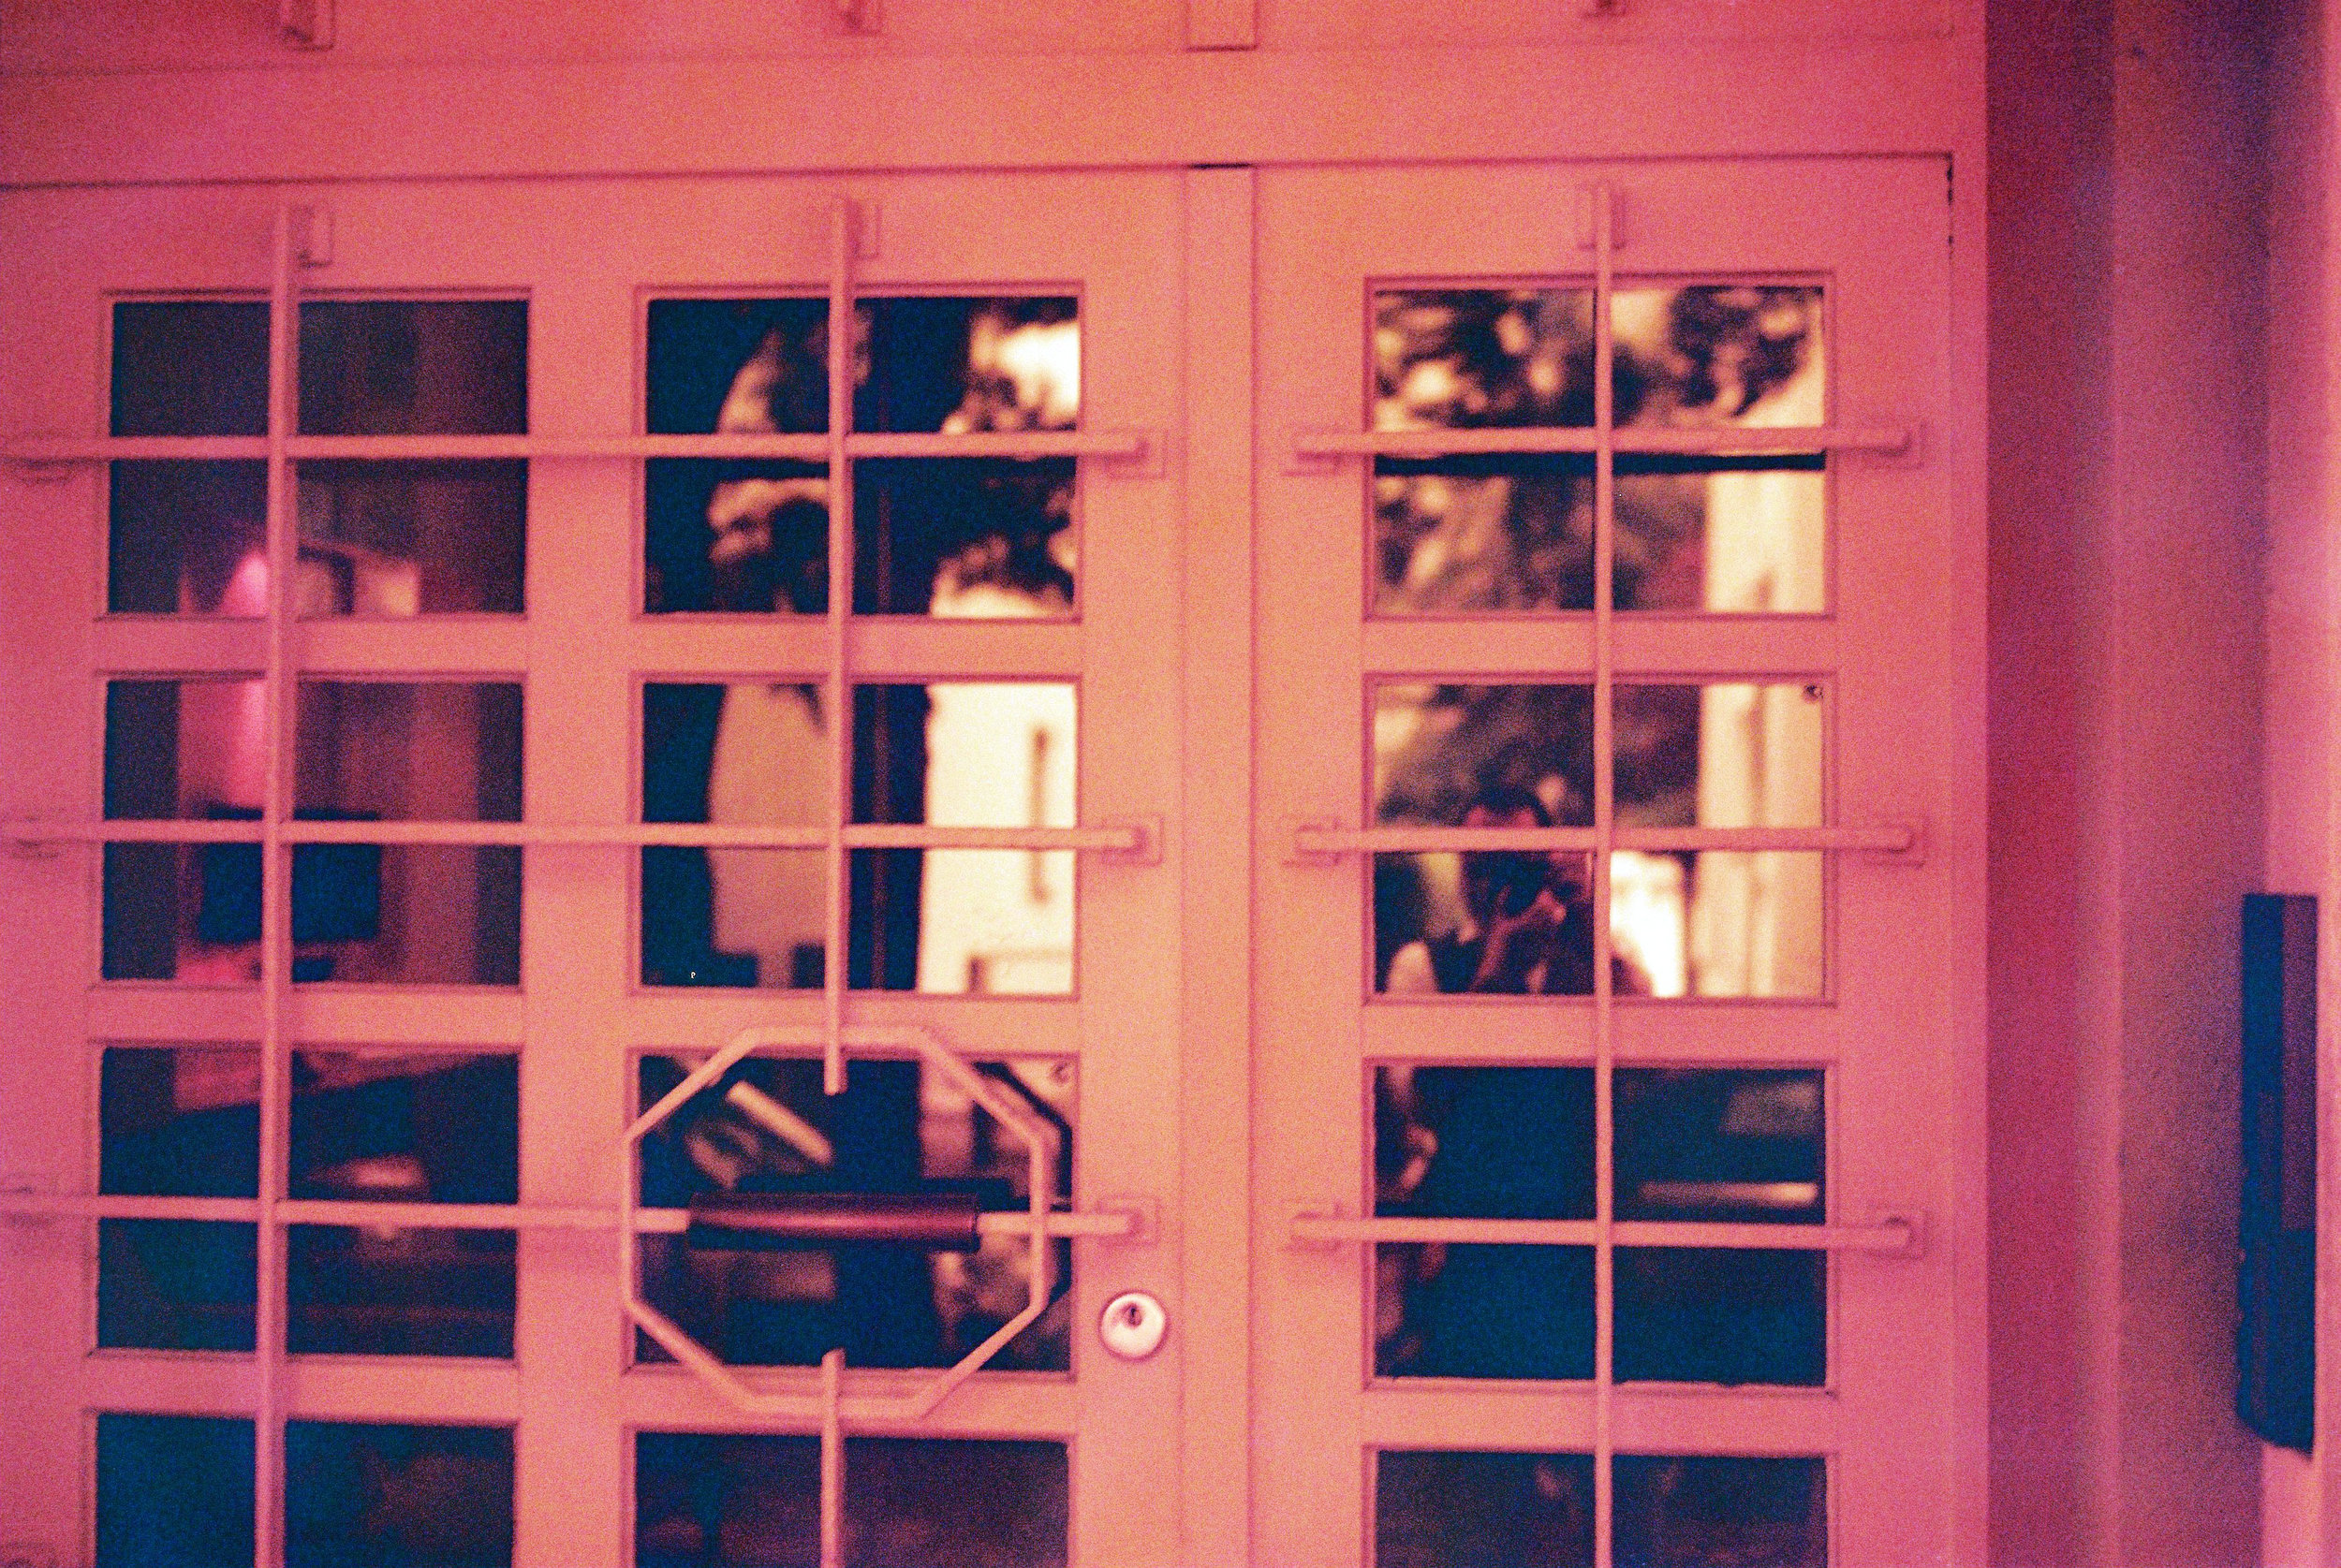
A failed shot of me in the reflection of the door - I should have been closer!
Actually this shot with redscale really works - it turns a more boring scene into something quite cool, with plenty of grain to add character!
Yep - we use a lot of bikes in this city!
Just another parking garage - pretty cool blue / dark tinge above the garage doors.
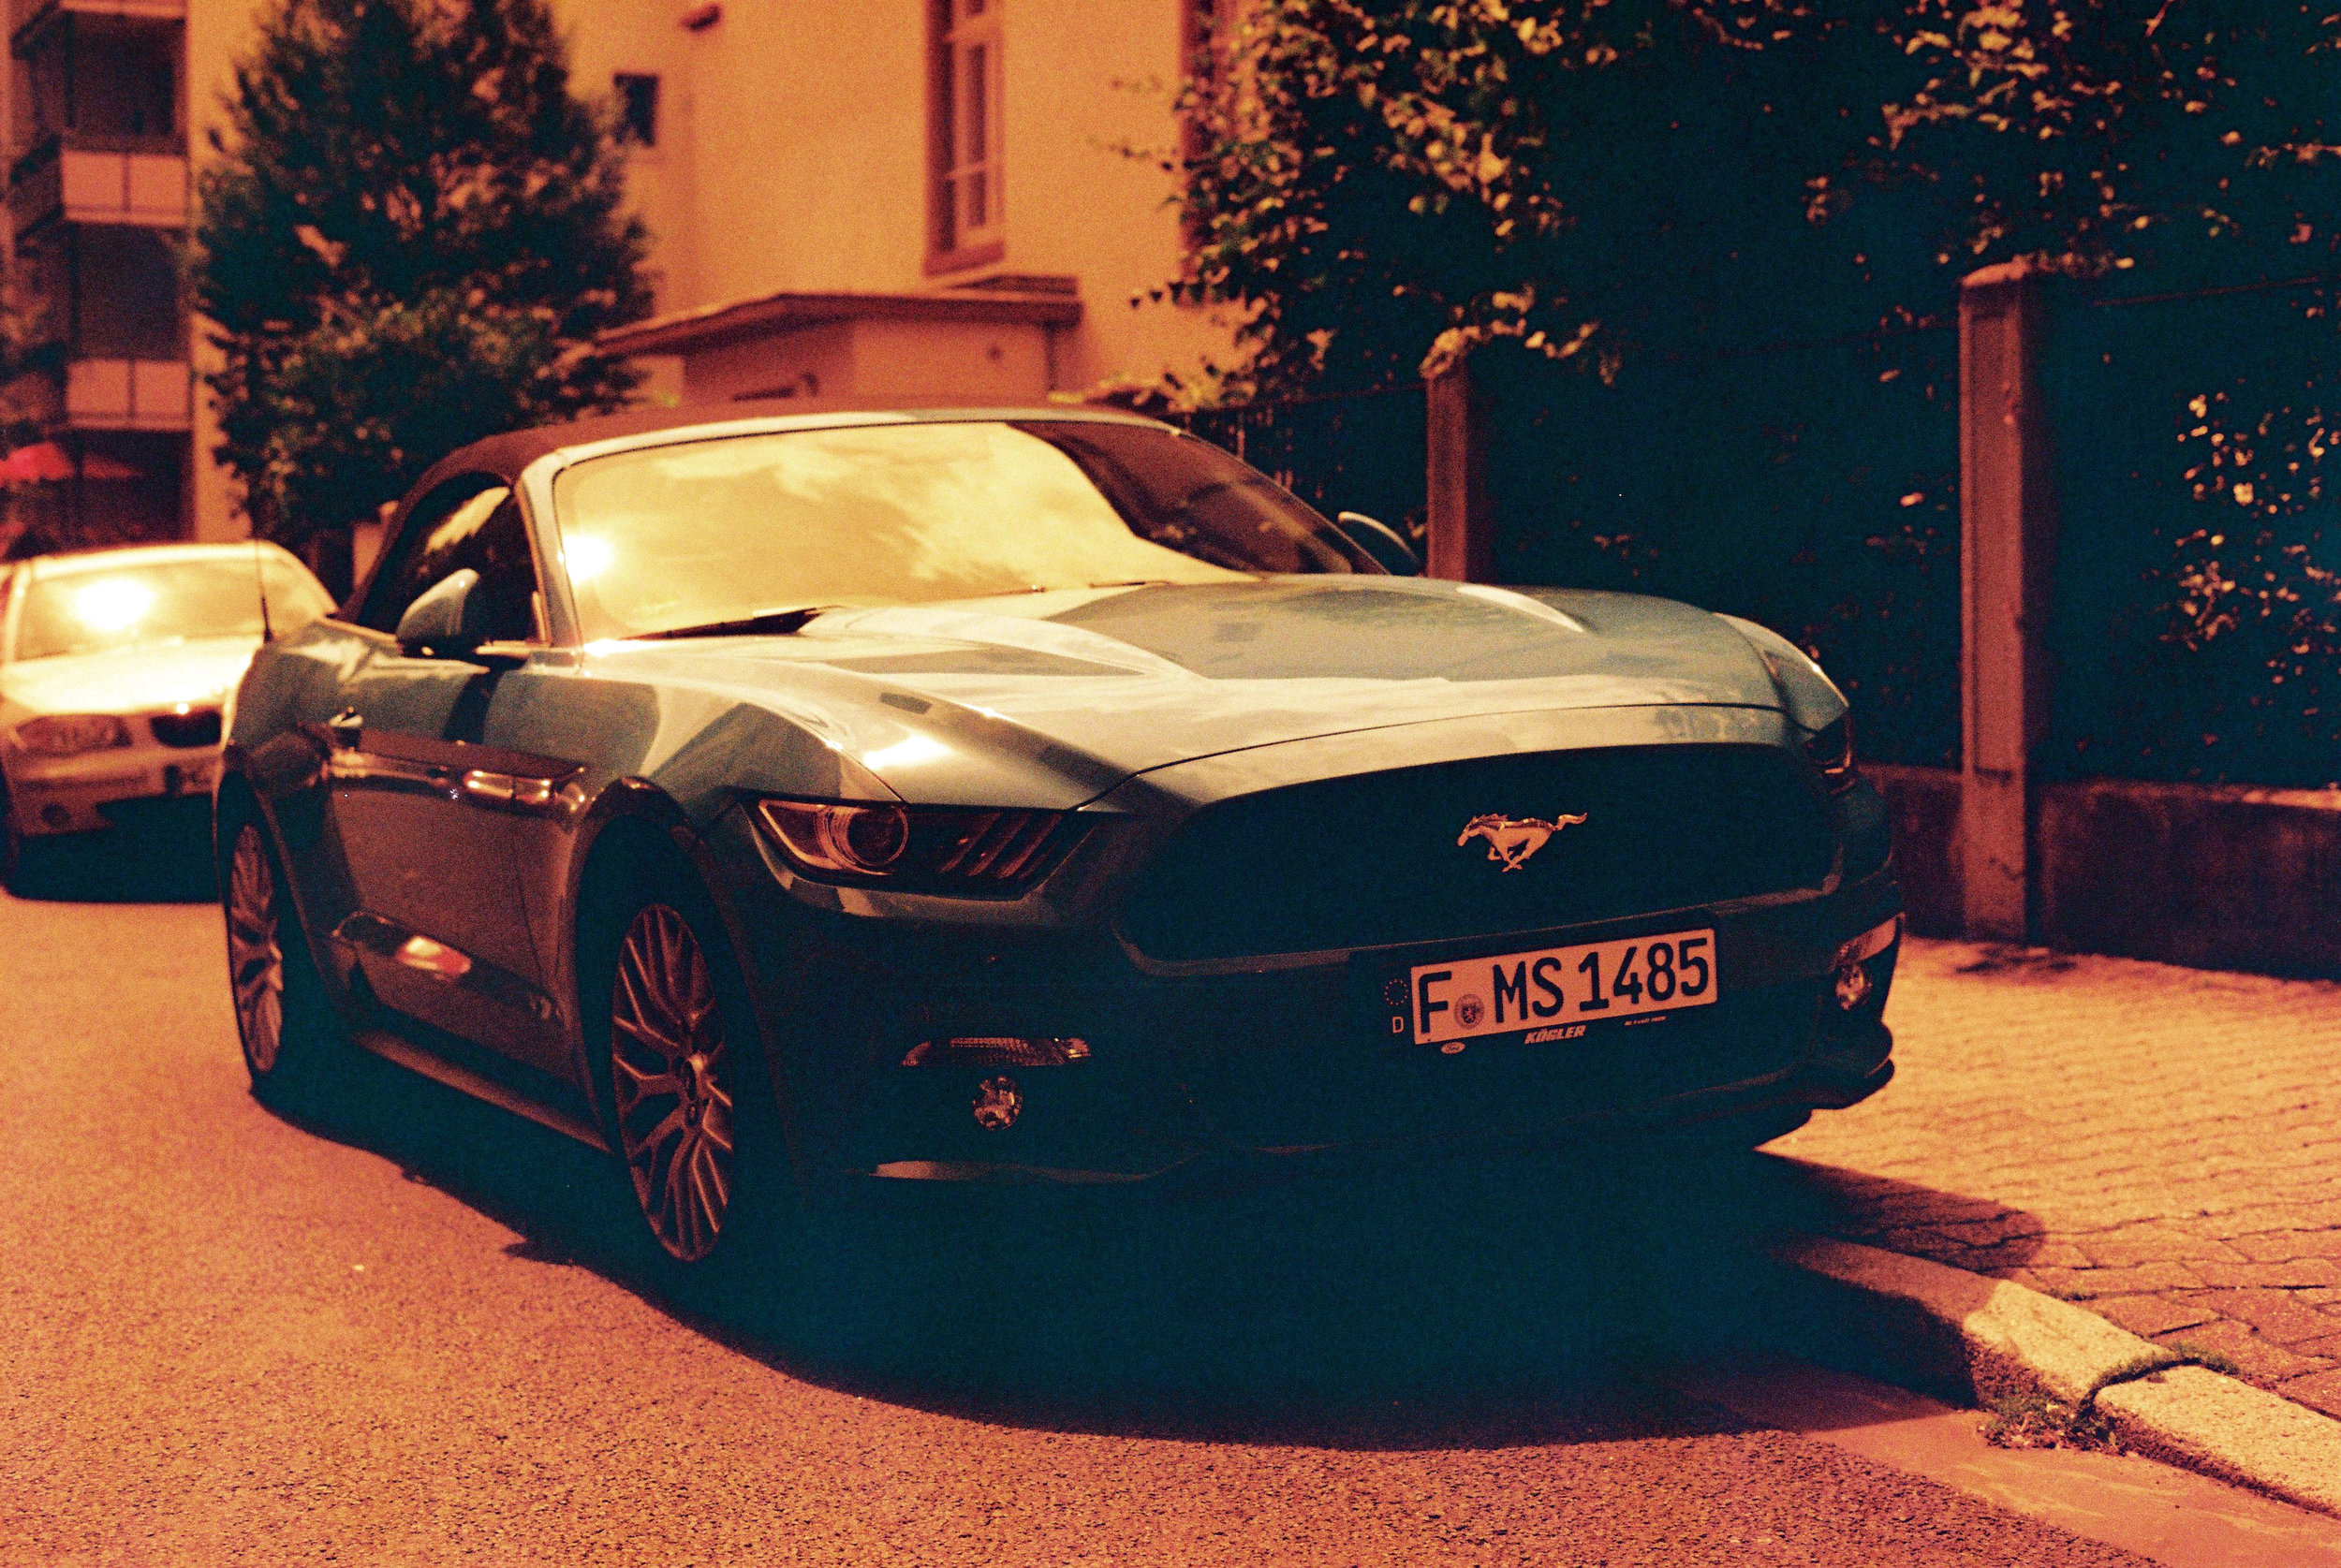
So this Ford Mustang was really bright blue - so much so that it looks like it refused to turn red! I love this car.
Talk about warm tones.
Overall impressions
I had a lot of fun shooting this film, partly because I wasn't sure what the end result would look like. It's fun to take photos of everyday normal objects, which otherwise would be quite boring, but with this redscale effect they come into their own. It also beats any instagram or other digital effect that gets added to photos, remember those are all simulations of what film does.
I think there is something really cool about light hitting something physical and that interaction creating a photograph. Well, as if it were not obvious by Week 41 of this project that I have bought into why film is cool!
So back to the redscale. There is quite a following of redscale film, probably due to how unpredictable it is, and also because it is relatively easy to create yourself. Either way, it is a fun way to explore film photography! I wouldn't use this every week, but always good to have some in the fridge if you're in that whacky kind of mood. Many thanks to Nik & Trick for the film and then developing it for me - I highly recommend them to the film community!
So, another week done and just over 10 weeks to go to the end of this project! Less than that actually, as I have already shot Weeks 42, 43, and 44! More cool film to come including Rollei Retro 400s, Fomapan 100, Kodak Gold 200, and a series of really cool Kodak Vision films (courtesy of Nik & Trick photo!).
I hope you enjoyed life through redscale film and see you soon as I have more posts coming imminently!
Cheers,
Neil