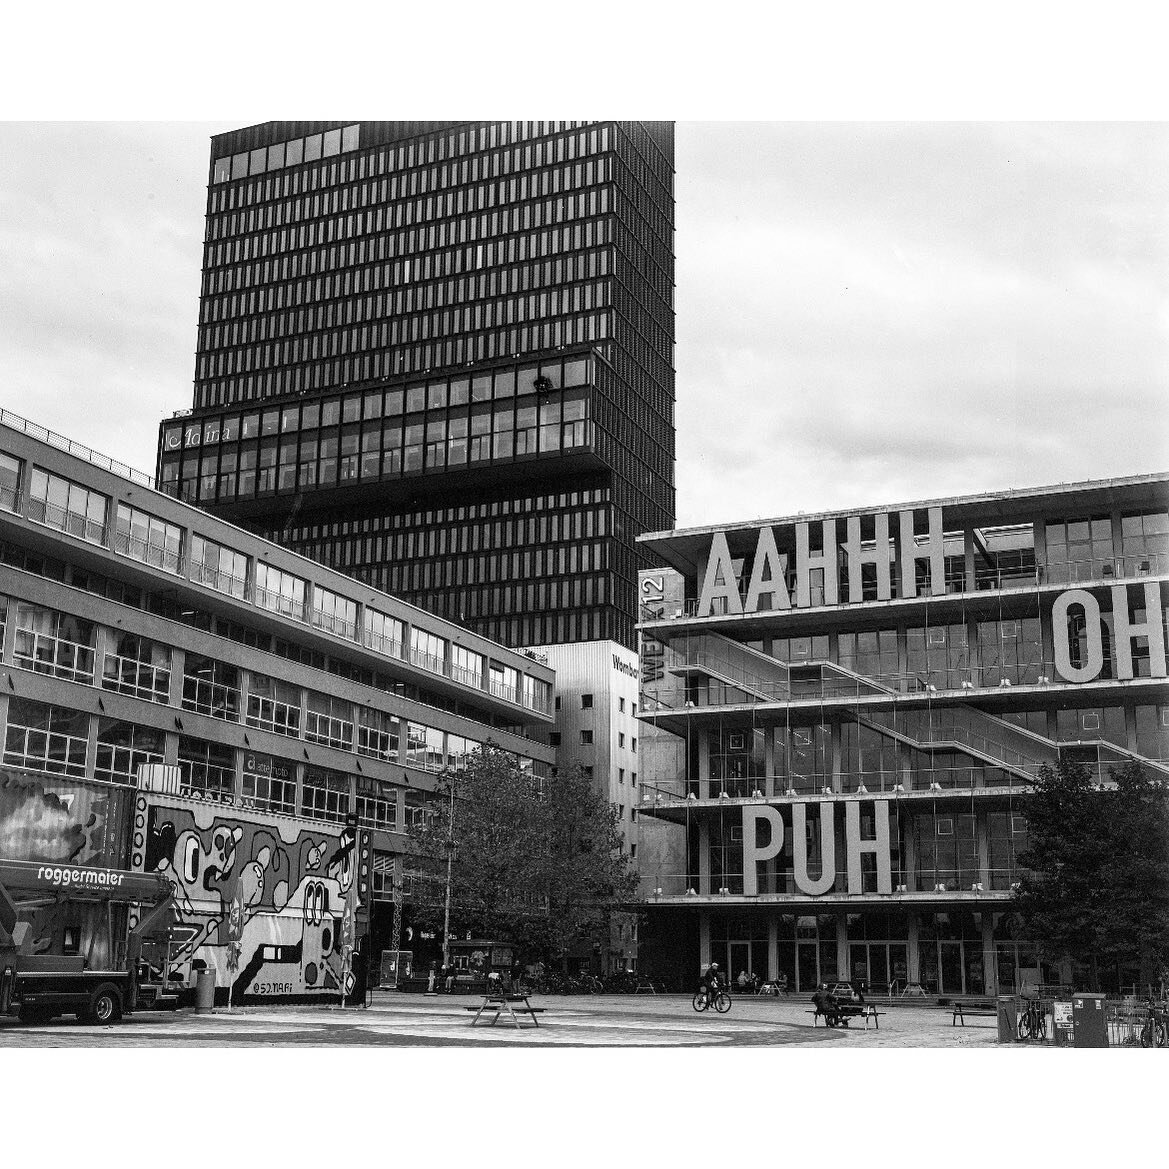
I took along my Leica M2 camera to a recent full day darkroom printing course at Darkroom London. Come join me for a look into how we develop and print film!
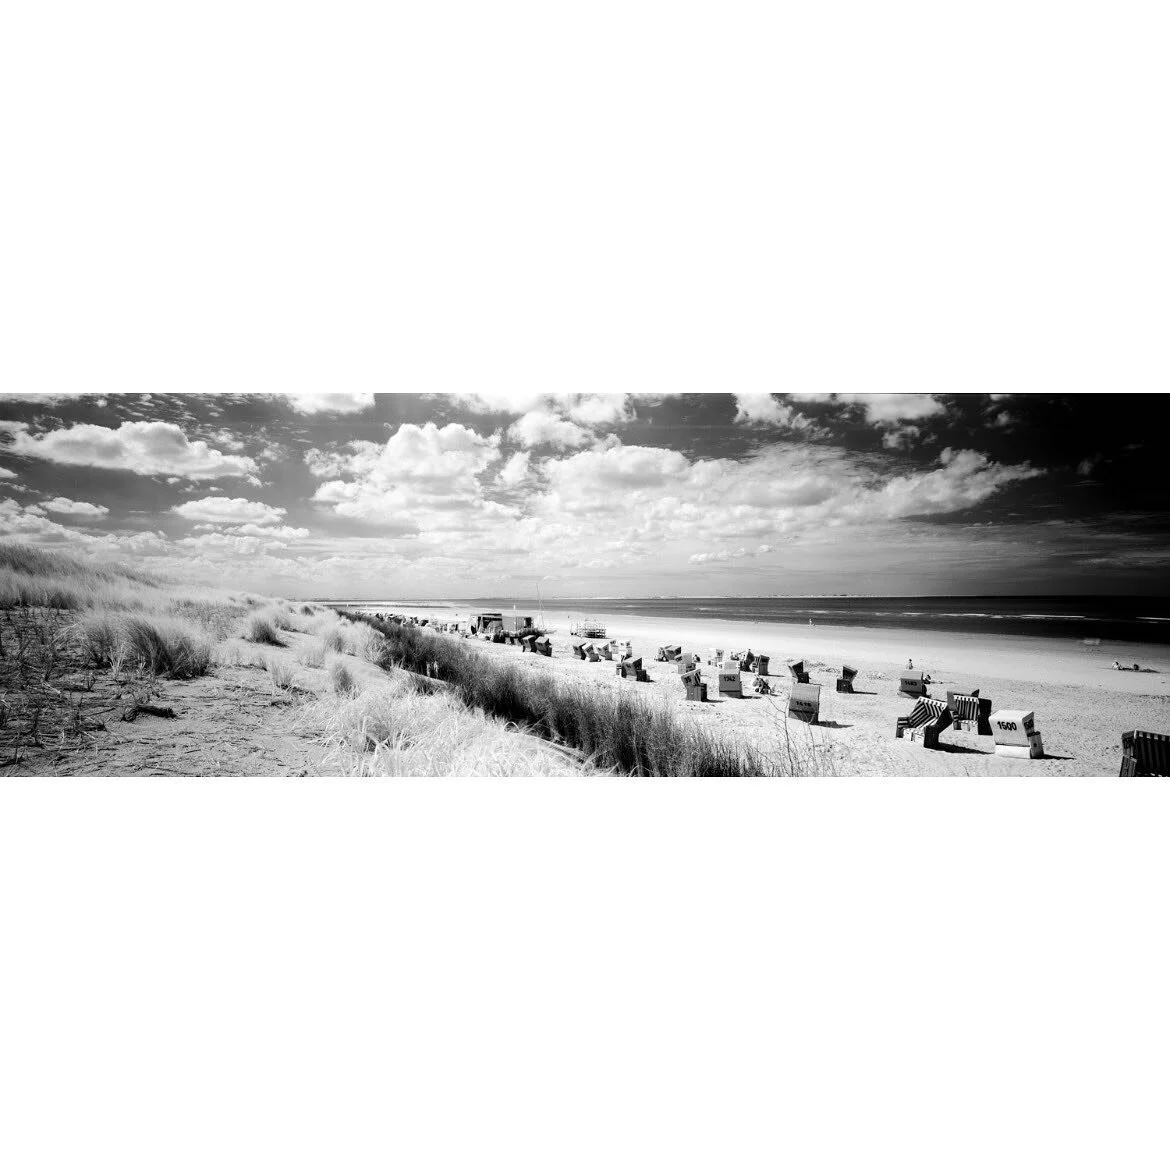
I’ve always been interested in the idea of having a darkroom, however unpractical and marriage threatening (“honey the bathroom is out of commission forever”) it is. I am also a keen learner so jumped at the opportunity when I saw the workshops offered by Darkroom London (conveniently based in Camden area, north London). I booked a 1-day Intro to Darkroom Pracitce and Black & White Printing and convinced my friend Conor that he also absolutely needed to come. Of course, it makes total sense to document my experiences with a film camera, so I brought along my trusty Leica M2 with a roll of Bergger Pancro 400 in it. As we were be indoors I paired this combo up with my Voigtlander 35mm f1.4 lens, which would give me enough light to shoot handheld (at least outside of the darkroom itself).
All opinions and observations in the post are mine only and have no formal affiliation to the Darkroom London group.
So what is film developing and printing anyways?
I haven’t really gotten into the details of film development and printing in my previous posts, although I have made some mention of scanning. I have previously outsourced all my film development, and a while ago I invested in a decent scanner (as that is what costs the most when thinking about creating digital images from film negatives for online sharing). The process of developing black & white film is actually fairly straightforward and requires some simple film processing tools, chemistry, and half a brain for some simple calculations. Luckily we learned all of this on the darkroom course with our knowledgeable and energetic teacher, Phil.
There were four of us on the day long course, a nice number to have adequate space in the darkroom and some geeky interaction over cameras and film. The workshop runs for 10am to 5pm, which seems like a long time, but trust me it flies by. In the following shots I will take you through the end to end process of developing a roll of film, creating a contact sheet, and finally printing an image. I have included some digital shots (sacrilege to include in a film photography blog I know!) as they are in colour and provide some added details.
An initial overview of the development process and how a contact sheet is created. We were each provided with a Paterson tank and had to practice loading it with film (much easier to do with test negatives than in the darkroom in complete darkness). I had a roll of exposed Kodak Tri-X 400 film (120 medium format) recently shots on my Hasselblad 501c camera in Hamburg.

Phil providing an overview of the development process and Pete winding up his roll of 35mm film ready for development.
There’s nothing quite like holding real photographs made from negatives.
The lads all dressed up complete in Darkroom aprons ready to start development (Conor, Pete, and Karl).
Once the films are developed they need to dry before you can use them in the next stage of the process (making a contact sheet). At home this would usually mean hanging them overnight in the bathroom, but luckily the Darkroom London has professional negative drying heaters that speed up the process.
Creating a contact sheet is a very simple way to make a print in the darkroom. It can be done either using the apparatus in the image below or directly from the negatives in a sleeve. In the shot below the negative is positioned between the glass and the photographic paper and exposed to light to create the final image.
We were taken through the process of making tests to assess exposure and amount of contrast required, as each image is different in how it was exposed and what it is actually showing (think of a shot with both dark and light areas).
Everyone seems pleased with the results of this particular contact sheet.
One happy film developer!
Relaxed crew. There is a lot to learn though, but you get the hang of it eventually.
Reviewing the developed negatives and following instructions on how to load onto the contact sheet apparatus.
A shot of my negatives from Hamburg - looking good!
More detailed learning around different exposure points and what this means when going into the printing stage.
Enter the Darkroom!
One of the many enlargers available in the darkroom. There is a very detailed science around light, filters, exposure and other complicated concepts I won’t go into detail here, partly because I am still learning it myself! Simply speaking the enlarger has a lens that it shines light through and exposes the image from the negative directly onto photographic paper, which then creates the final image (whether for a contact sheet or individual image).
For the contact sheet printing, the negatives need to be emulsion side down (or shiny side up). The light coming from the enlarger will then expose the paper through the negatives and create a positive image.
Simply speaking, black/dark parts of the negative will remain white as these block light and brighter/light parts will print black as they allow more light in.

The trays are where the exposed photographic paper is taken through to create the final image. This is where the magic happens and you can see you image appear before you as the paper reacts with the chemicals - it really is a great feeling for any photographer to see this.
Darkroom with the safe red light on that does not ruin the unexposed photographic paper we are about to use.
We were in and out of the darkroom all day, plenty of time for review and discussion on negatives and photos.
Contact sheets, test exposure sheets, and final prints - lots of photographic paper!
A more in-depth look at the final result and some final edits to some dodgy borders.
My contact sheet and 3 images I printed. I was very happy with the end result.
A cup of tea to end the session!
Overall observations
It goes without saying I had a great Saturday at Darkroom London, learning to create photography prints and having a good chat about photography in general. They have a really great setup and I fully encourage anyone interested in learning about a darkroom to try out the full day black & white printing course. They have a whole range of different courses, focused around the darkroom, more on those here.
I was very happy to be able to take my photography to the next level and learn some great skills around printing and critical assessment of shots. There really is nothing like seeing a print develop in front of your eyes and if you have never seen that happen then you absolutely must try out this course!
Phil was a fantastic teacher and enthusiastic photographer, and I look forward to returning to the Darkroom London space to continue my adventures in black & white photography printing. And with that in mind I have my bag packed with a load of black & white films to shoot over the Christmas & New Year break and hopefully have some good prints coming out of those in the New Year!
On the film side, I quite liked how the Bergger Pancro 400 shots came out, whilst they can be a bit flat at times this is probably more due to shooting inside and my quick snapshots. I think they would come out sharper with my other Leica 50mm Summicron lens, as the Voigtlander lens has quite a specific signature to it. However, I quite like the shots and that they had some personality to them rather than the sometimes quite clinical Kodak Tri-X or T-Max range of films.
I hope you enjoyed this simple overview of the development & printing process.
See you next time!
Neil